
WELCOME TO THE BUCKLE BOUTIQUE DESIGN TEAM HALLOWEEN BLING PARTY!
I am so glad to see you HOPPING along with me and The Buckle Boutique Design Team on this journey of Halloween bling projects! ITS A HALLOWEEN BLING PARTY! YAY! I’m up next to show you what I have created using The Buckle Boutiques self adhesive resin bling sheets, which you can go buy right HERE! I promise you will be in instant LOVE! Anyways, onto my project!

I want to share with you the SUPER adorable jack-o-lantern treat bag I made! You could hand these out to trick or treaters filled with goodies on Halloween night, or use as a fun classroom treat bag for a school Halloween party, or as I’m using it for, a Halloween themed birthday party goodie bag for the kids! You could even use this to hold cupcakes at a party! I mean I could go on and on, the possibilities are endless with this adorable little treat bag, and everything is better with bling 🙂
WHAT YOU WILL NEED:
1. The svg file for the treat bag which can be found at Birds Cards <– click there to go see all the AMAZING projects she creates and offers for FREE! Book mark her, she is awesome!
2. Your favorite cardstock in orange, black and a tiny bit of green
3. Two strips of ribbon about 11 inches long
4. Your favorite adhesive or tape runner/glue dot runner
5. Now here my favorite part, you will only need two 1×1 inch pieces of The Buckle Boutiques self adhesive resin gemstones, of course you could always go WILD and bling the whole pumpkin, or do the sides of the treat bag also, you know what I say.. there’s no such thing as TOO MUCH BLING!
Here’s what I did:
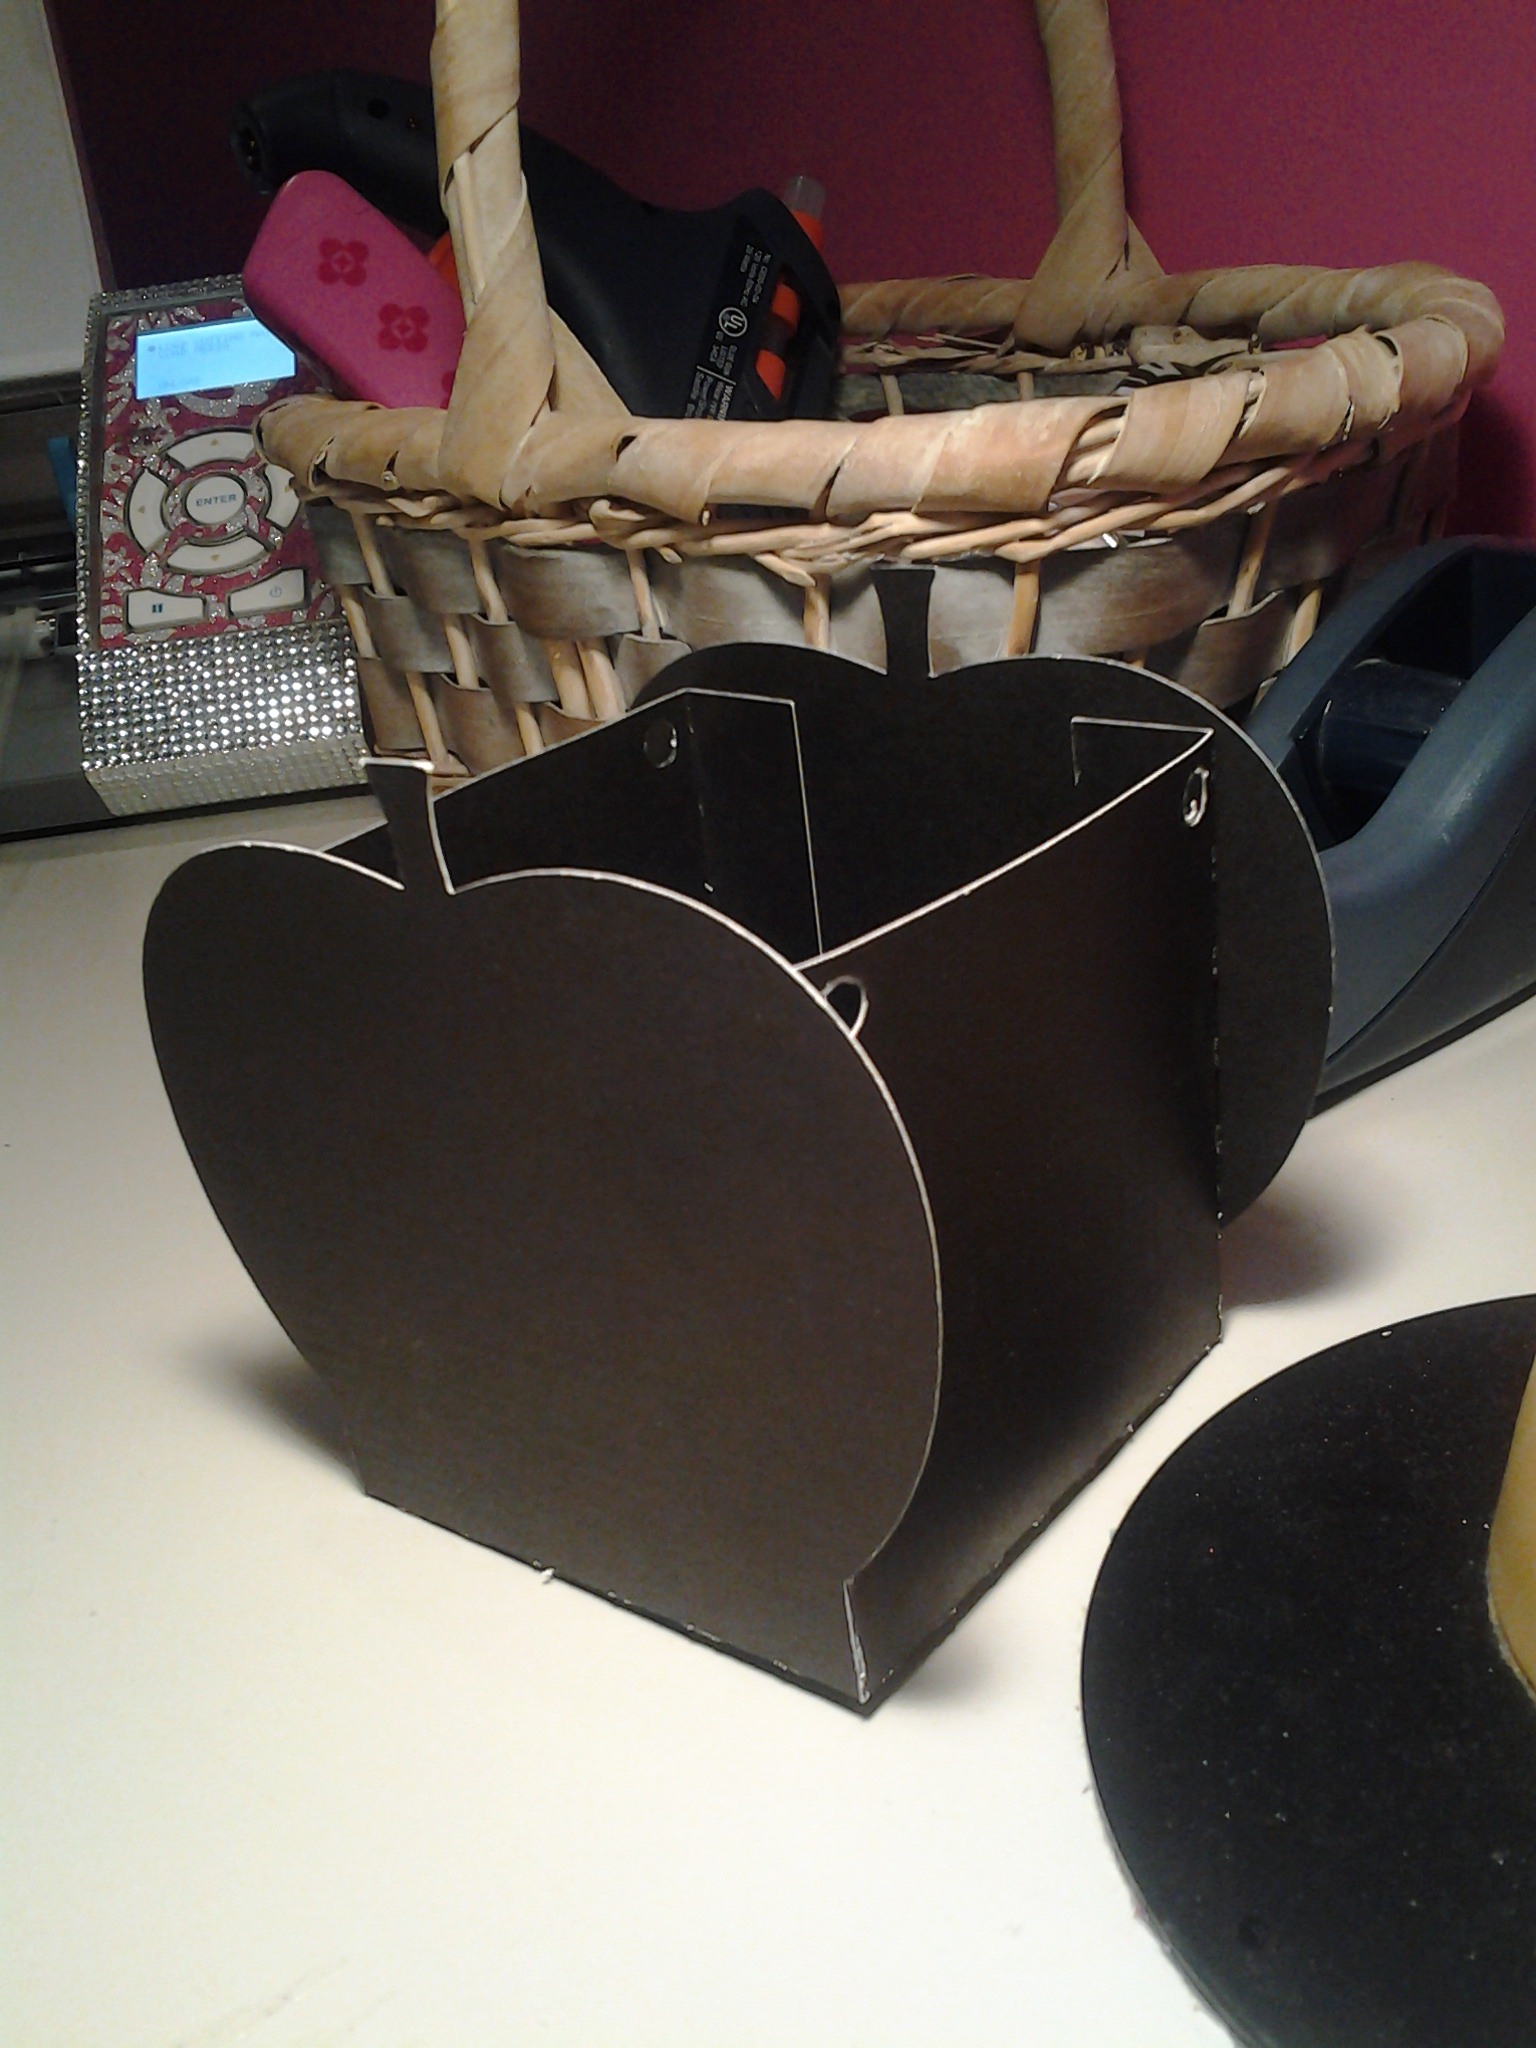
So I downloaded the file from Birds Cards and used my Silhouette Cameo to cut it out. I made it at big as my 12×12 mat would allow, and cut the main bag part on one mat and the pumpkins and stems on another mat. Here’s what it looked like once it was all cut out

Once cut out I followed Birds directions on how to glue the treat bag together which is super easy, you just put glue on the tabs and lift them up to meet the back on the pumpkin side of the treat bag

So here’s what it looks like once it is glued together
Okay here’s the FUN part, you glue the bottom half of your jack-o-lantern to the treat bag, figure out where the eyes are and peel off the backing on The Buckle Boutiques amazing bling sheets 1×1 pieces and stick to the black treat bag and then finish gluing your jack-o-lantern on over it! If you choose to do both sides, repeat on opposite side ( I only did one side so I could write the kids names on the back side of the treat bag, along with a thank you for attending our get together) HERE IT IS! ALMOST DONE!

Last, you feed your ribbon through both holes on each side and tie a knot on the inside or glue it, or you could leave the ribbon off entirely! Its up to you! and here’s what your left with! Cute huh?!

As a fun treat for the girls attending my daughters party, I also made a denim bow out of old jeans topped with a strip of bling from The Buckle Boutique! I will make another blog post with the simple steps to making this adorable bow so check back soon! I hope you enjoyed my simple little project! Feel free to comment with questions (in case I missed something!) or share with me what you came up with! I aim to inspire and I hope this inspires you and opens the wonderful world of bling from The Buckle Boutique for you also! Oh and don’t forget to follow the blog so you will never miss a project from one of us Design Team Members! You can get to the blog HERE.
Thanks for coming to our Bling Party! Make sure to go to The Buckle Boutique and pick up something sparkly for your next crafting project! HAPPY BLINGING!
Oh and here’s some EXCITING news! This weekend only, October 19th and 20th, receive 15% off your total order from The Buckle Boutique! Use code friends15 at checkout! Discount can not be combined with any other offer, is limited to in stock merchandise only and is not applicable on custom or previous orders.


